
2016-08 Beauty Portrait Composite Retouch Example 01: The base candidate DNG image was adjusted initially via Adobe Lightroom using custom presets that affected several Develop Panels, including white balance, exposure, tone curve, clarity, saturation, noise reduction, lens profile, and basic sharpening. This was done to recover shadow details in preparation for the retouching steps that could only be done in Photoshop (e.g. those affecting hair & skin).
I liked the composition, hair & head position, and facial expression. However, I'd preferred if Donna was gazing intently at the camera instead of towards camera-left (not easy to do when your head is moving, as any dancer who 'spots' during spins may tell you). This would've produced more pronounced catchlights in the eye. Thus, the first retouching step in Photoshop involved replacing the visible eyeball with one from another candidate image shot with the same lighting setup (so that the catchlights & whites of the eyes could be where I wanted them).
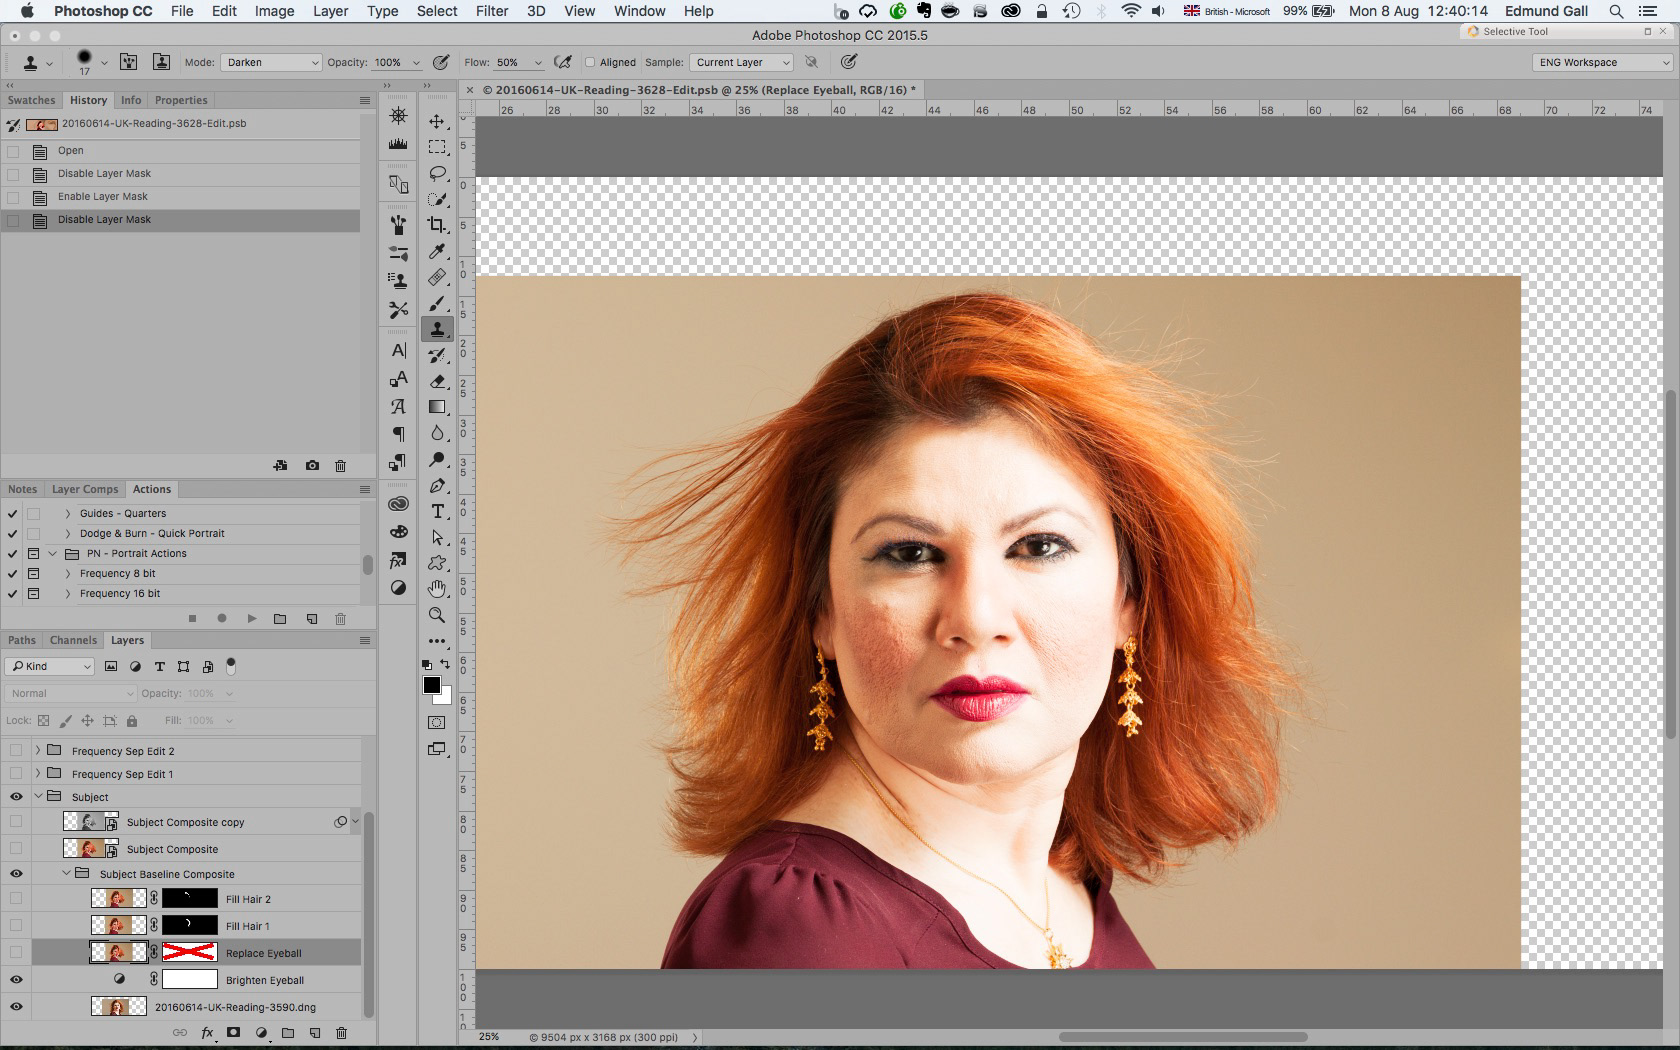
The two candidate images were opened as layers in Adobe Photoshop CC...
2016-08 Beauty Portrait Composite Retouch Example 02: The candidate image, the source for the forward-gazing replacement eyeball, was subjected to the same preliminary Adobe Lightroom adjustments before opening in Photoshop. A Curves adjustment layer was applied to brighten the eyeball. No other retouching was required (e.g. to remove redness or veins from eyeball)...

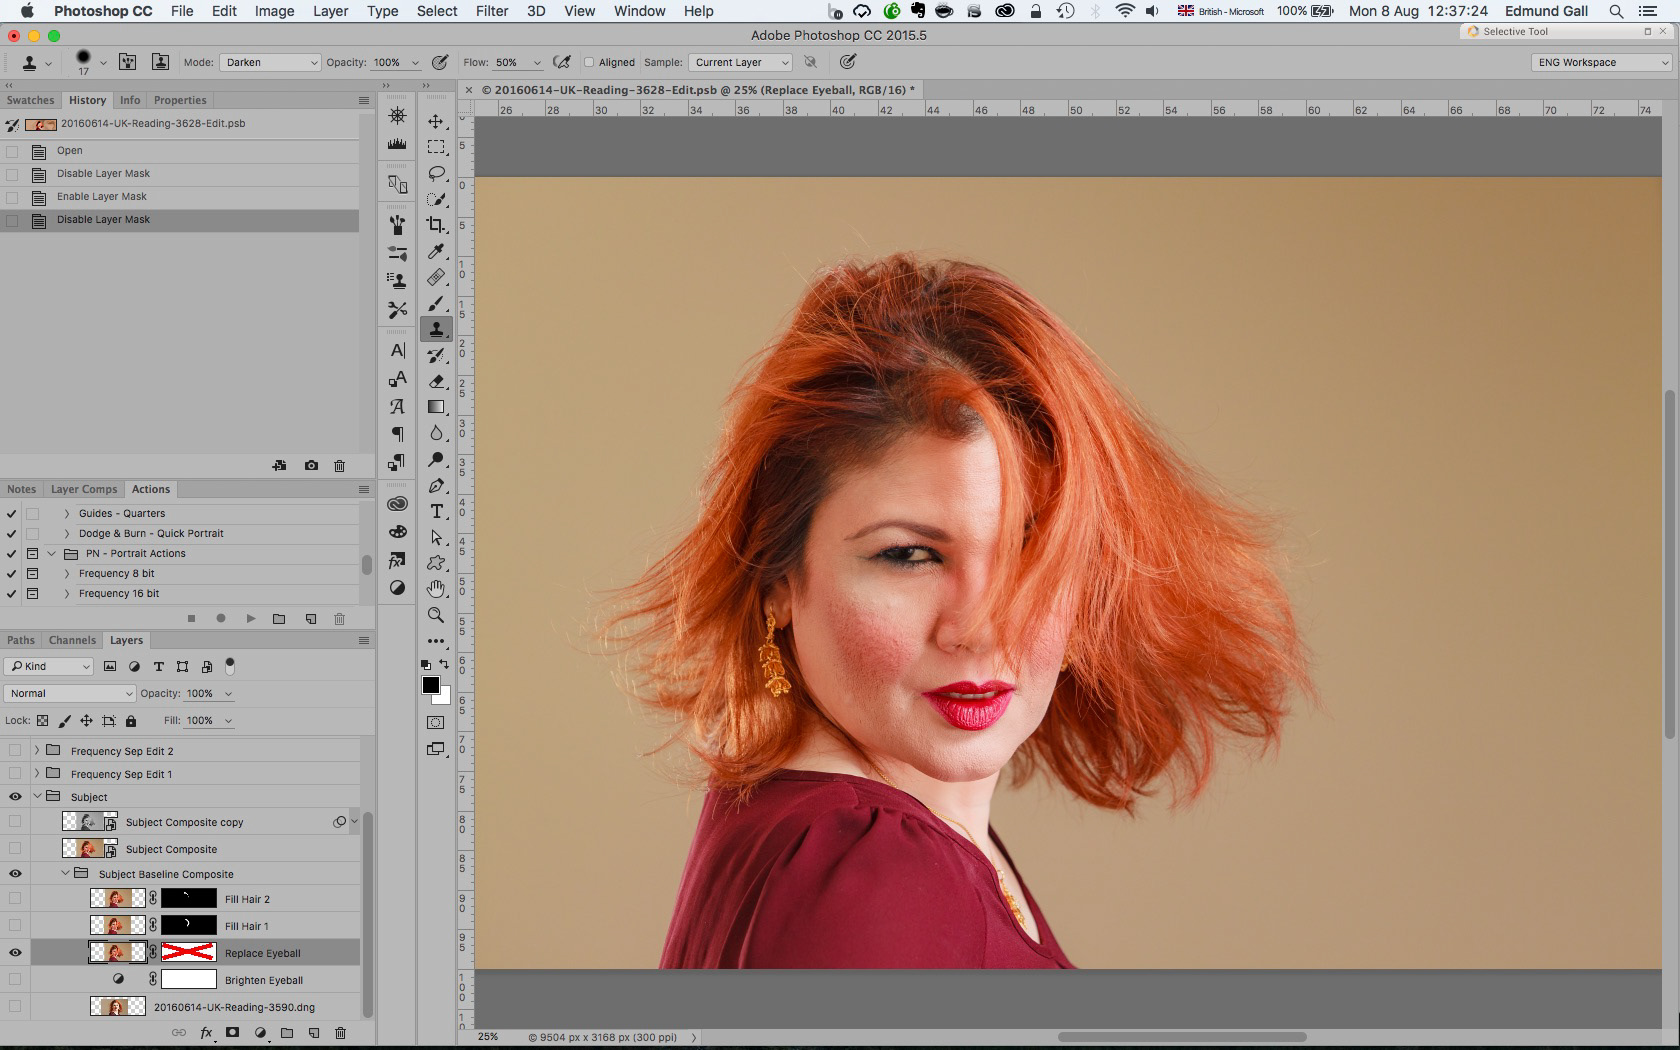
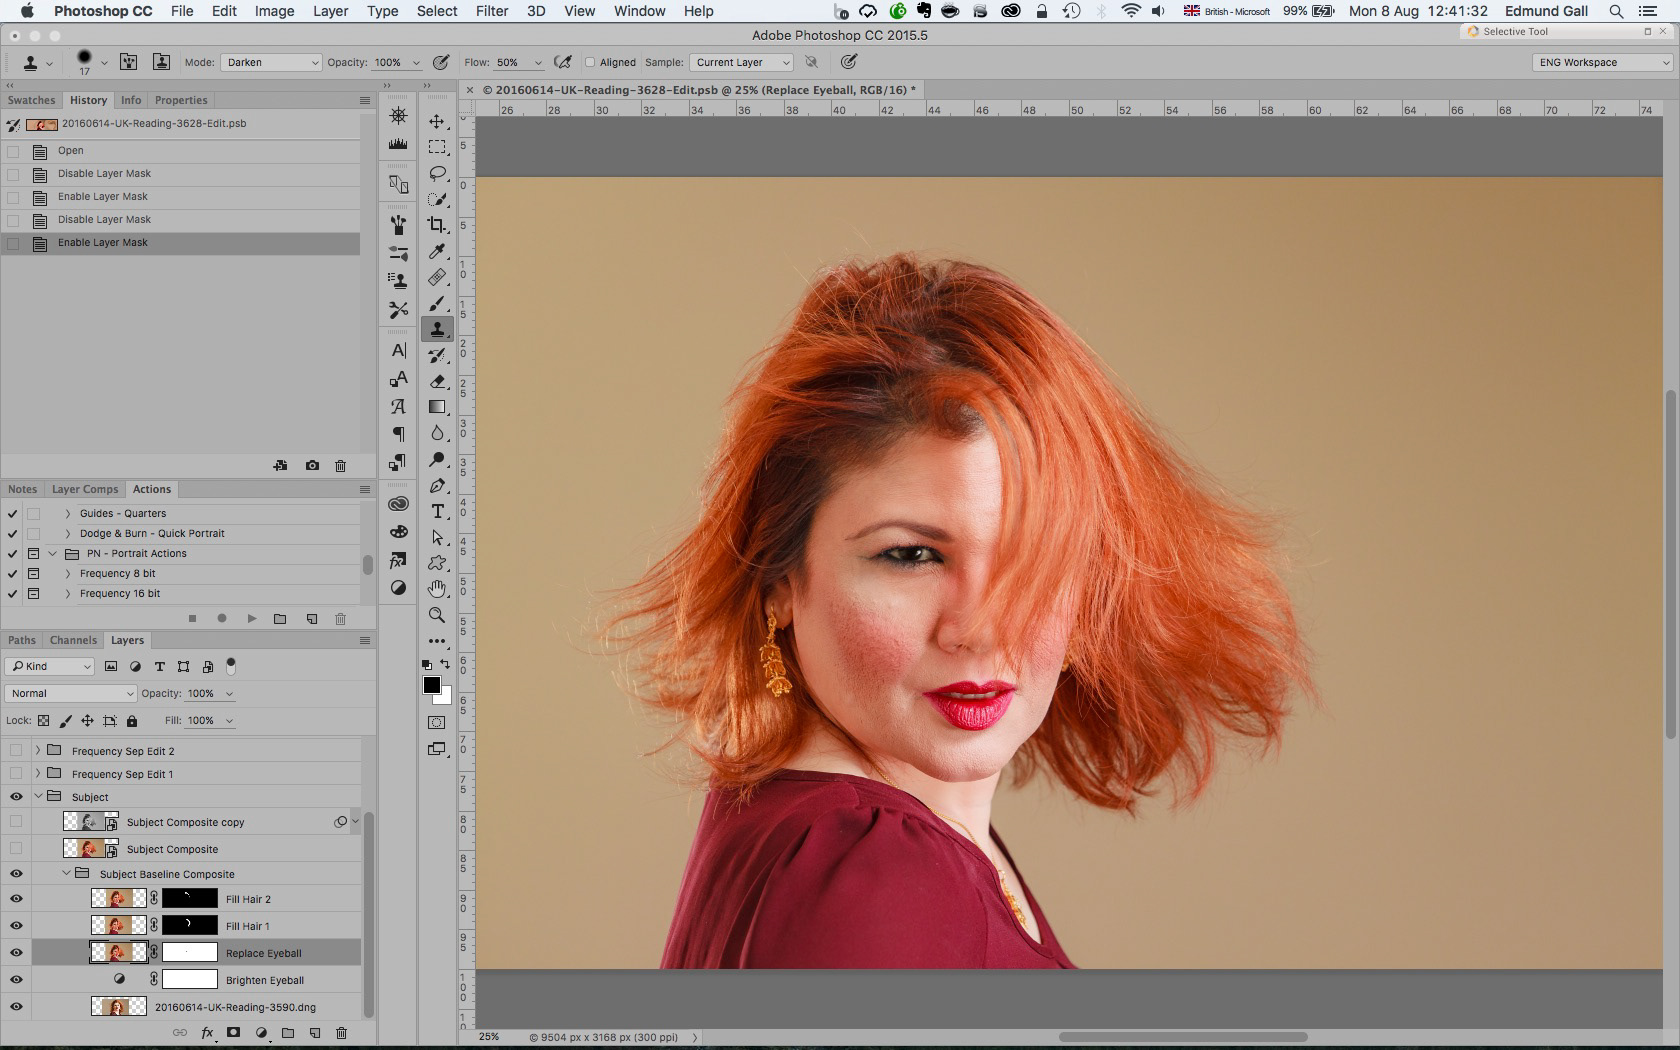
2016-08 Beauty Portrait Composite Retouch Example 03: The two candidate images were manually aligned. A layer mask was applied to reveal the replacement eyeball, and the Curves adjustment layer was fine-tuned so that the eyeball's exposure could match the rest of the subject's face...
2016-08 Beauty Portrait Composite Retouch Example 04: In order to make the shot more dynamic, I asked Donna to shake her head towards her camera-facing shoulder while aiming a standing fan at her face from camera-left (bottom). While this created the desired hair movement, it produced several gaps in her hairline. These were filled using various cloning/healing techniques on their own layers (with suitable layer masks applied)...

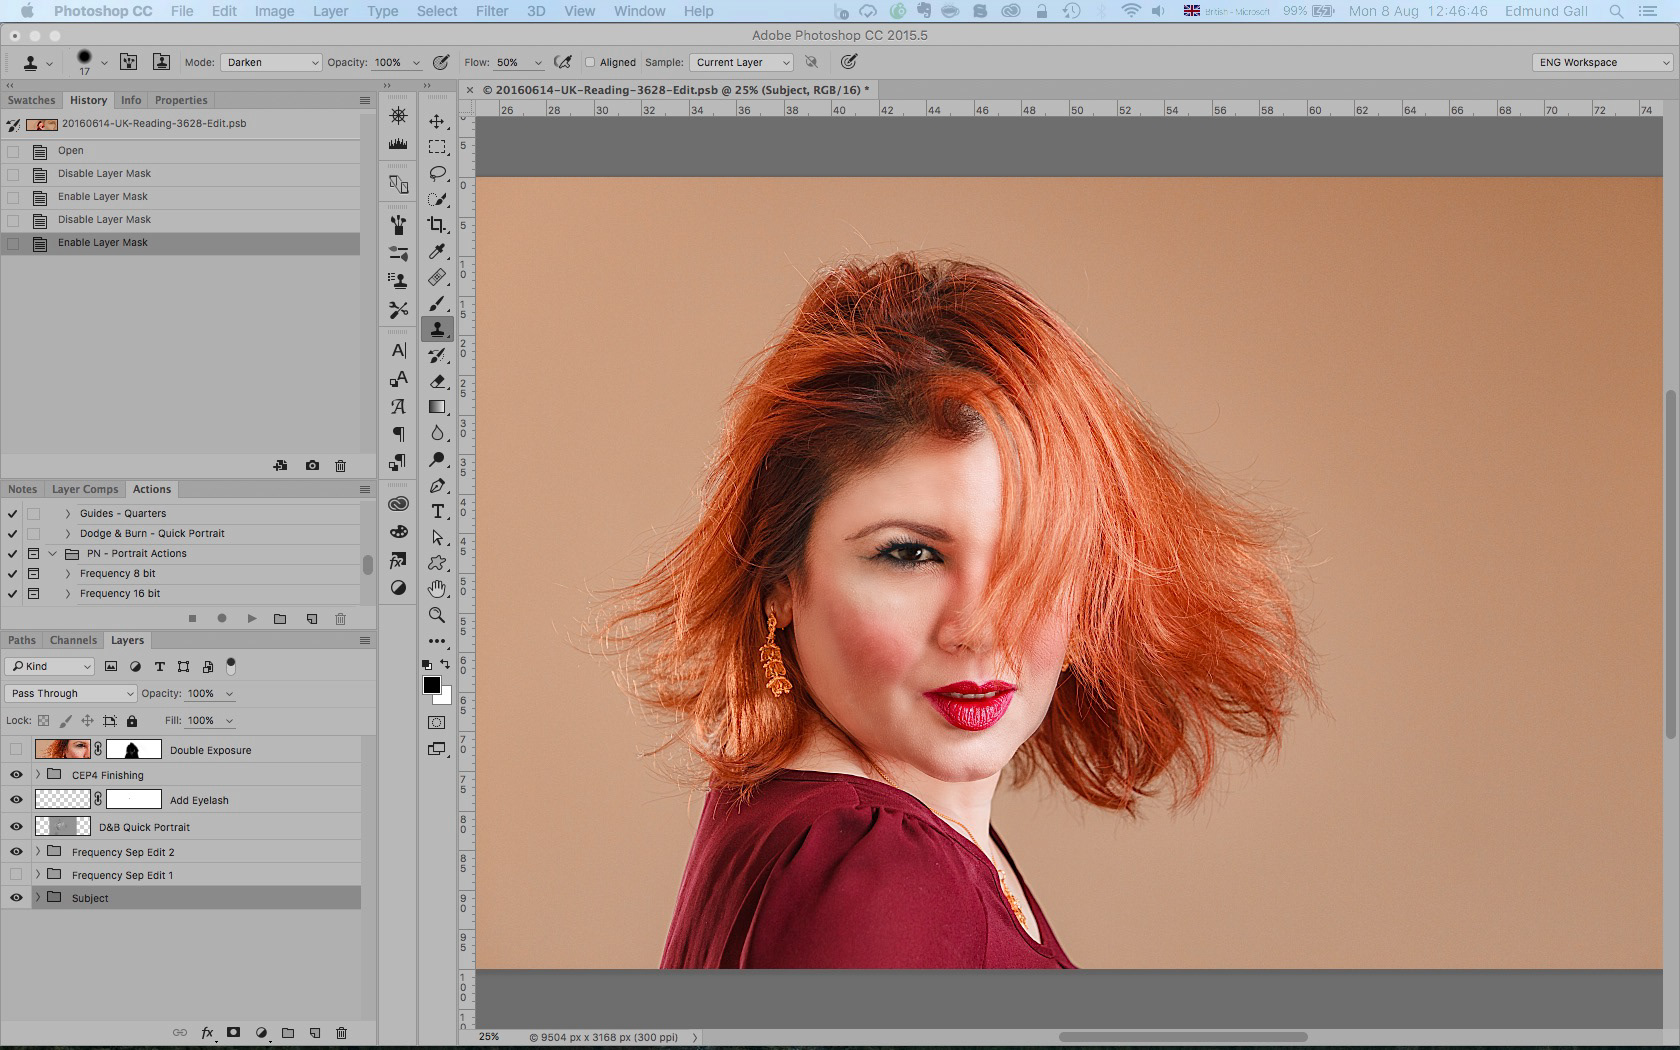
2016-08 Beauty Portrait Composite Retouch Example 05: The layers were then merged, converted to a smart object, and then duplicated (via copy). Separate Adobe Camera Raw filter adjustments and appropriate layer blending were applied to prepare the skin for its retouching...

2016-08 Beauty Portrait Composite Retouch Example 06: I retouched the skin using the frequency separation technique. This allowed me to more realistically remove Donna's acne marks while retaining some of her skin texture. I used Serge Ramelli's quicker method involving the clone stamp tool: in fashion retouching, I may be able to retain more of her original skin texture using Pratik Naik's relatively more labour-/time-intensive healing brush method.
My goal when retouching skin is to avoid producing the visibly false 'plastic skin' effect. In other beauty portraits within my portfolio, you'd find examples where I was able to maintain most of the subjects' pores, as I used a different method for healing blemishes. The frequency separation texture layer was also used to repair any areas where Donna's foundation bled onto her eyelashes/mascara, to even out her lipstick, and to lightly sharpen the image to taste overall. This enhanced her eyes, hair, lips and jewellery only: the effect on her burgundy top was reduced significantly in order to retain its rich colour...
My goal when retouching skin is to avoid producing the visibly false 'plastic skin' effect. In other beauty portraits within my portfolio, you'd find examples where I was able to maintain most of the subjects' pores, as I used a different method for healing blemishes. The frequency separation texture layer was also used to repair any areas where Donna's foundation bled onto her eyelashes/mascara, to even out her lipstick, and to lightly sharpen the image to taste overall. This enhanced her eyes, hair, lips and jewellery only: the effect on her burgundy top was reduced significantly in order to retain its rich colour...

2016-08 Beauty Portrait Composite Retouch Example 07: Donna's facial structure was then lightly adjusted via dodging and burning, by enhancing the contouring already applied through makeup. This also reduced some of hair light spill at camera-left on her cheek due to her movement during posing, to produce the near-Rembrandt lighting effect I desired...
2016-08 Beauty Portrait Composite Retouch Example 08: Donna's visible upper eyelash was then enhanced using a special Photoshop brush from Lindsay Adler. This was created on its own layer, puppet-warped into position, and then colour-corrected to match her original eyelash and mascara...
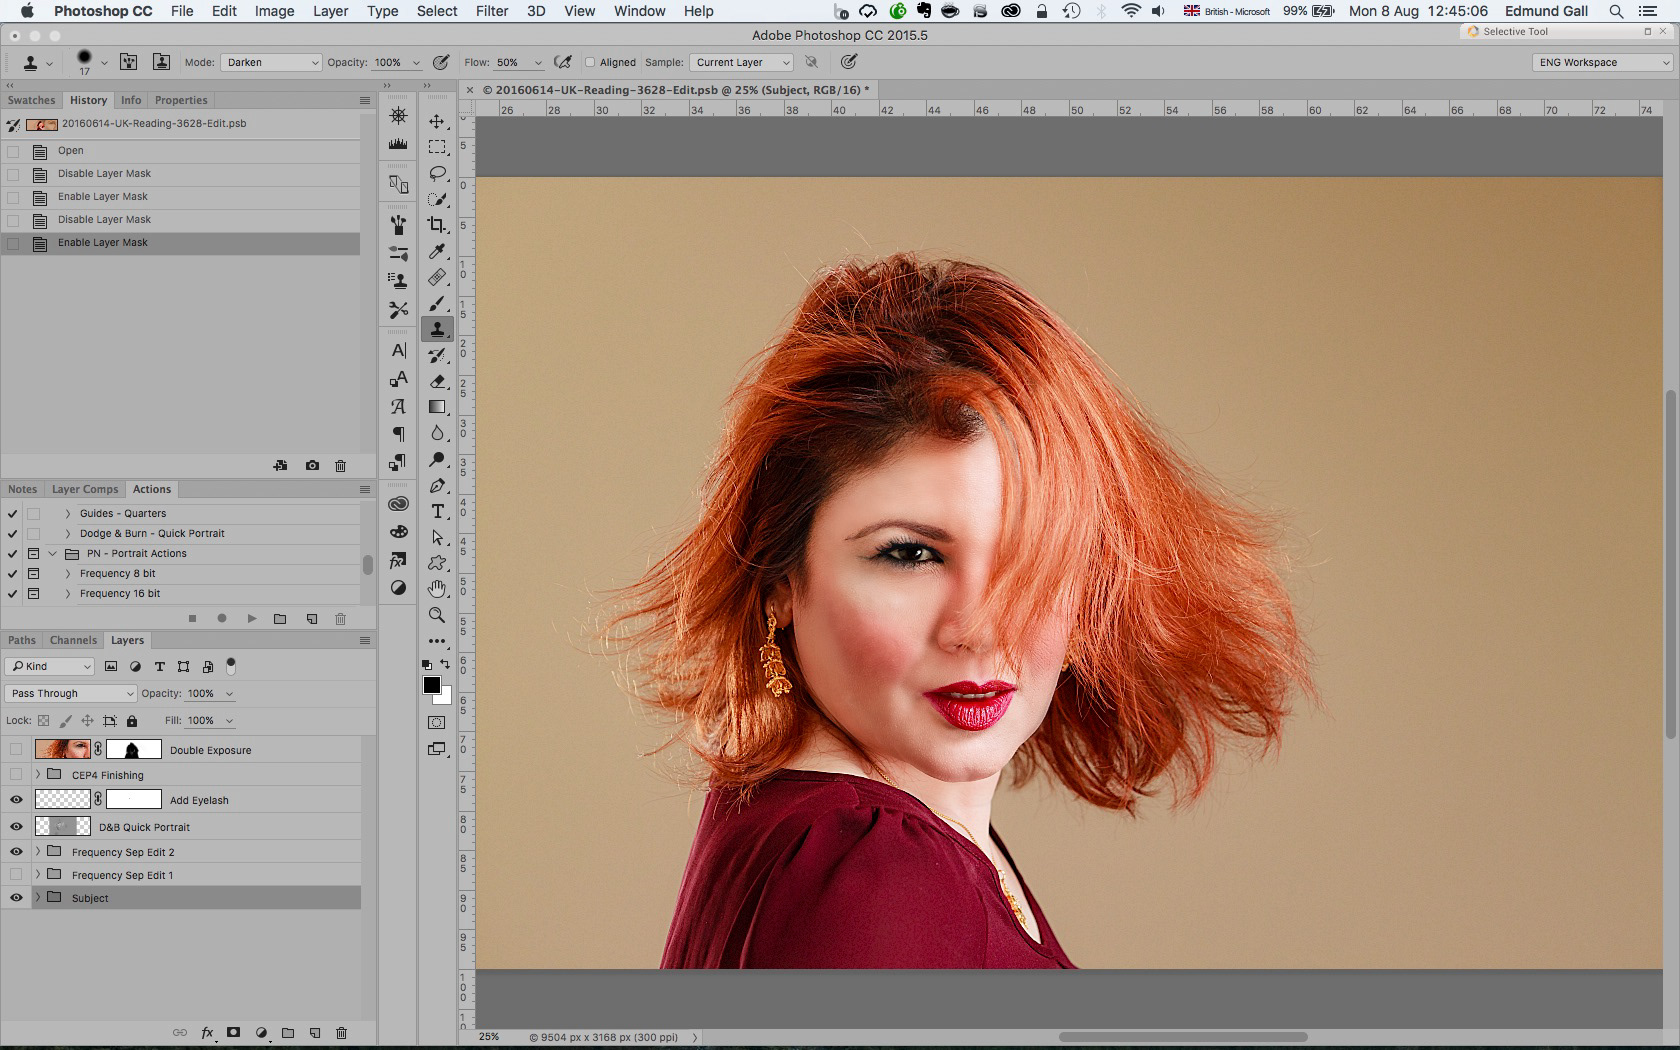
2016-08 Beauty Portrait Composite Retouch Example 09: I then applied my current finishing style for beauty portraits via plug-ins (which created their own layers). Layer opacity was adjusted to taste and layer masks applied to paint in the effects only on desired areas. This affected the overall colour tone and enhanced fine details (including those made invisible from increased contrast during Step 05)...
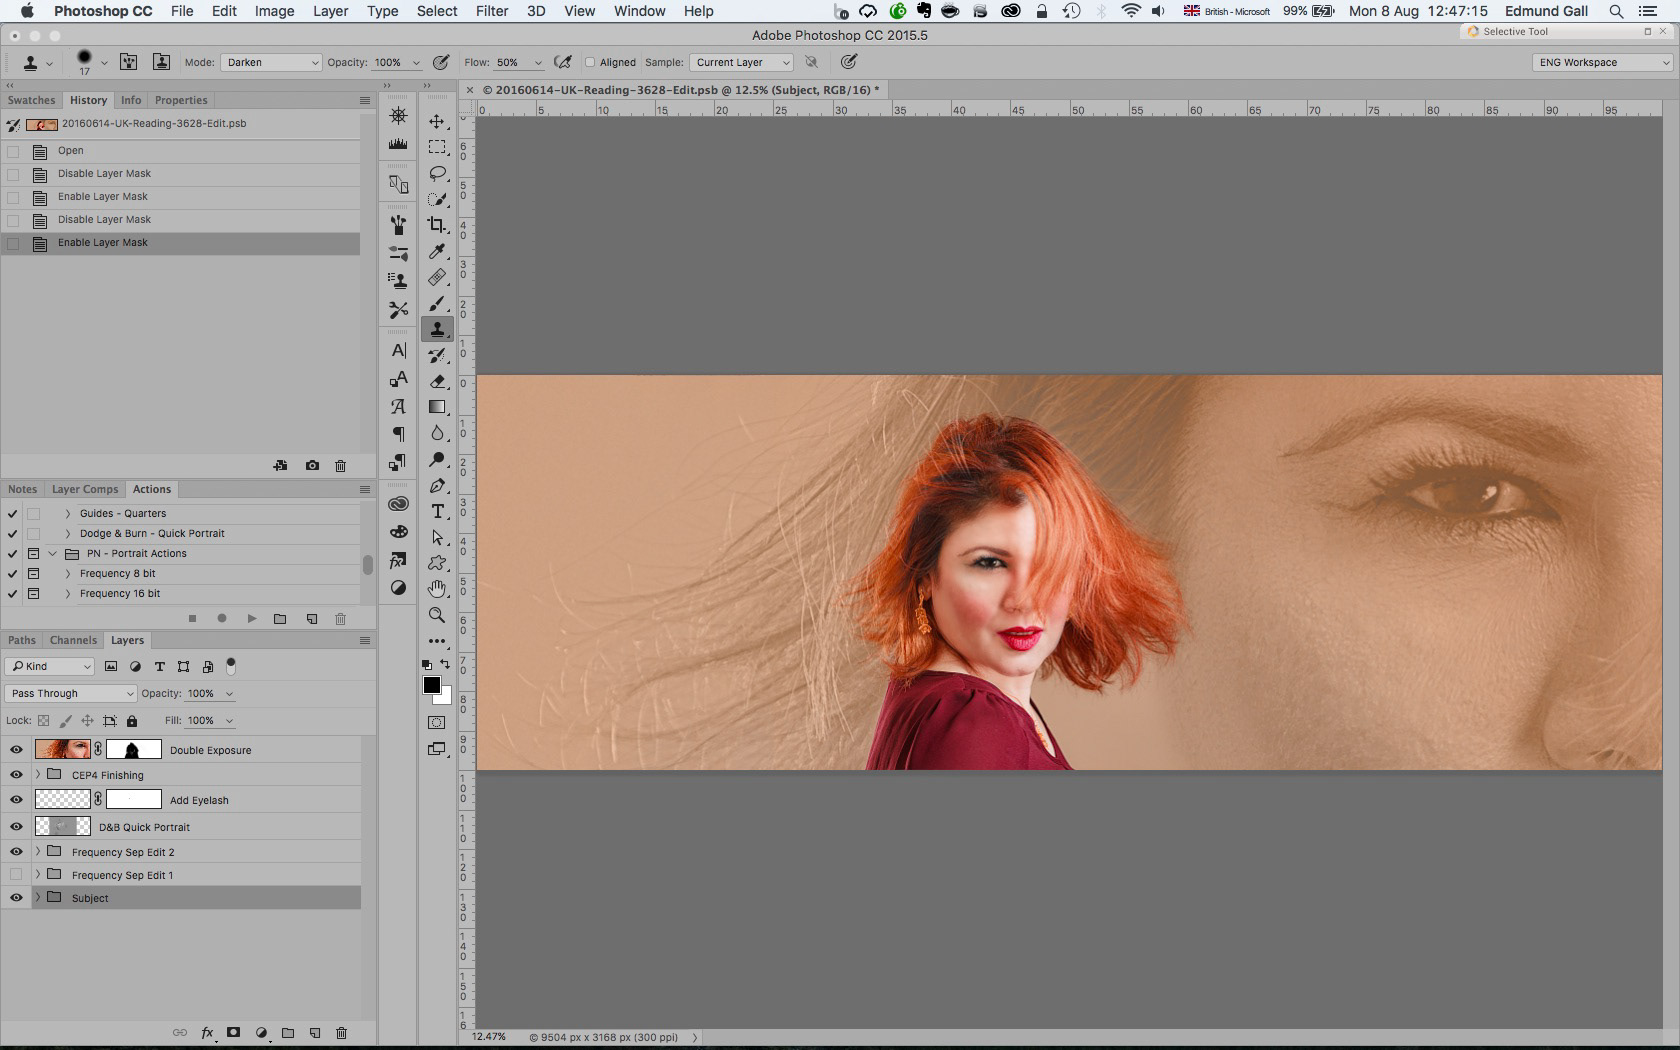
2016-08 Beauty Portrait Composite Retouch Example 10: The final step within Photoshop involved doubling the image's canvas width, filling in the newly-formed transparent areas in the backdrop through content-aware fill, and creating a faux double-exposure backdrop effect. The former converted the image from a 3x2 aspect ratio to a high resolution 3x1 banner capable of being printed in photo quality up to 30"x10" (300 dpi) or canvas quality up to 60"x20" (with 1" bleed, at 150 dpi).
The backdrop effect was produced by duplicating a merged copy of the visible layers, increasing its size, changing its position to camera-right, and modifying the layer blending mode and opacity to taste...
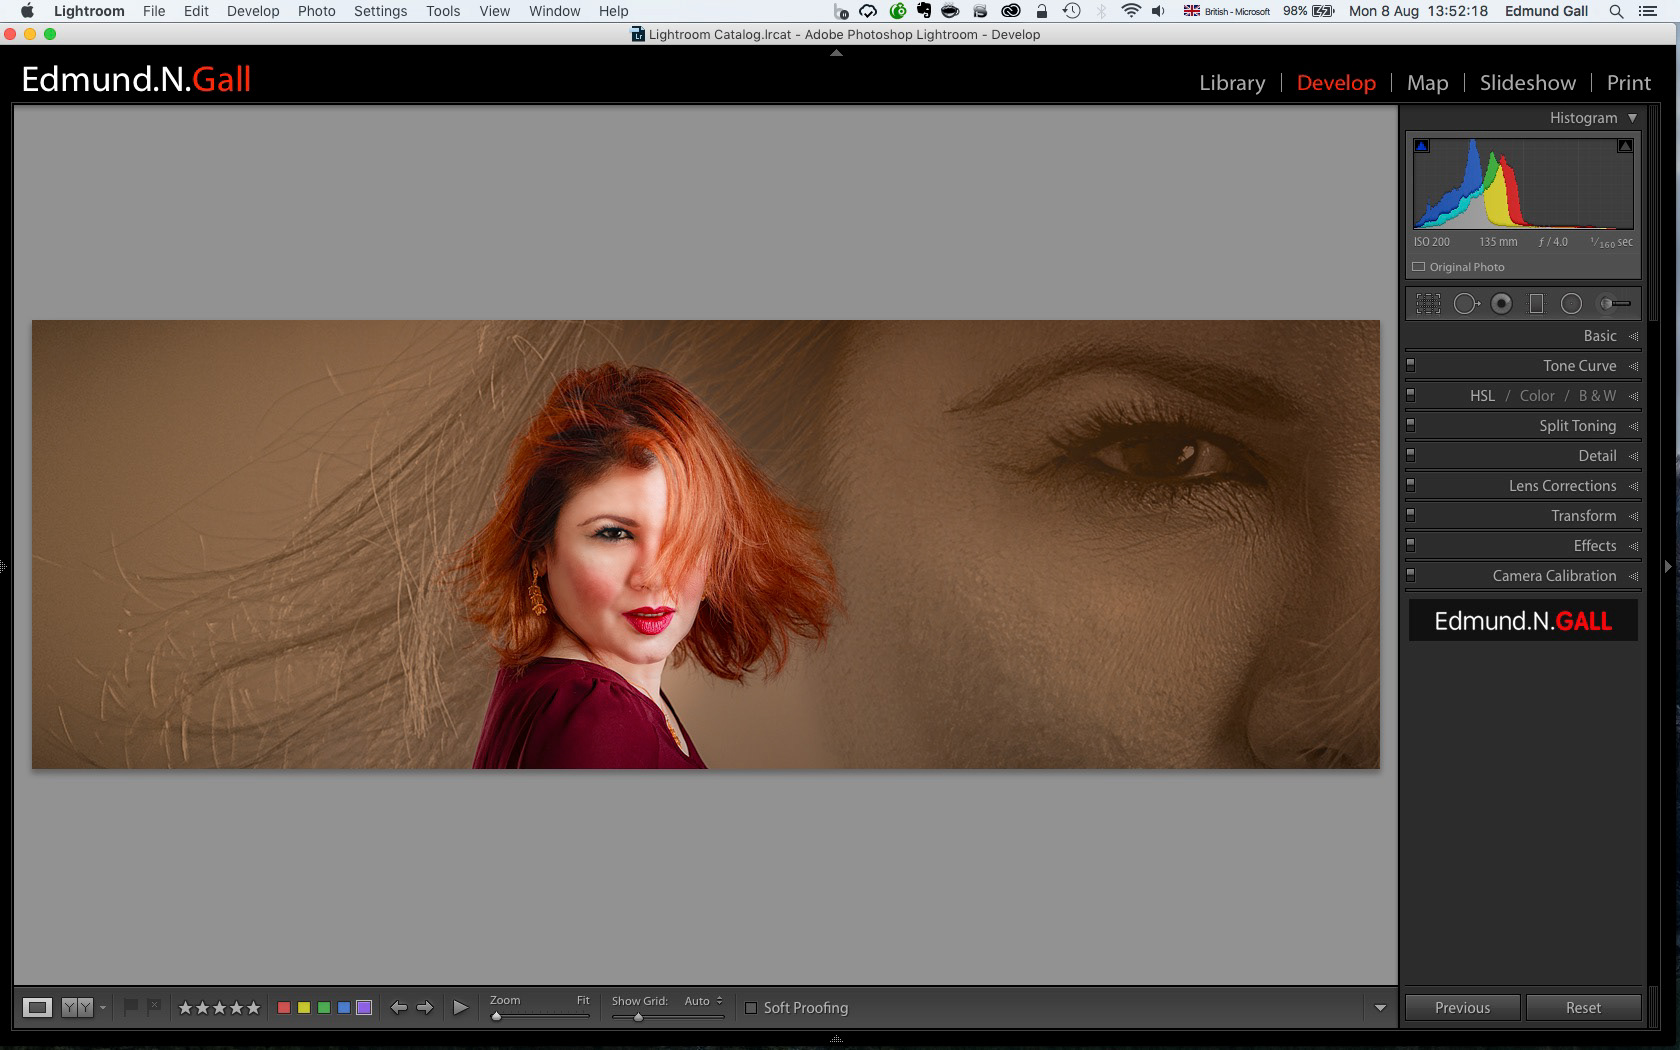
2016-08 Beauty Portrait Composite Retouch Example 11: Final adjustments were made once the image returned to Lightoom, including applying a slightly dark vignette and selectively enhancing the contrast between the main subject in the foreground and the backdrop. This was based on the figure-to-ground art principle. As the image contains no logos or lettering, I'm able to flip the image horizontally to suit any social media cropping requirements (to prevent key elements overlapping with reserved buttons or spaces).